CSS is a colorful fancy environment for web designers since its releasing day. However, the latest changes in CSS are so awesome and powerful. Some years back, creating A drop down menu was not possible without jQuery and CSS. CSS used to design the Menu and jQuery used to functioning the menu. Now it is alone possible with CSS3. So today we will give you a complete solution for CSS Drop Down Menu for your website or blog. We have given complete HTML and CSS codes for this menu. You can simply copy them and paste into your webpage or website. You can latter on change the design, colors, links according to your needs.
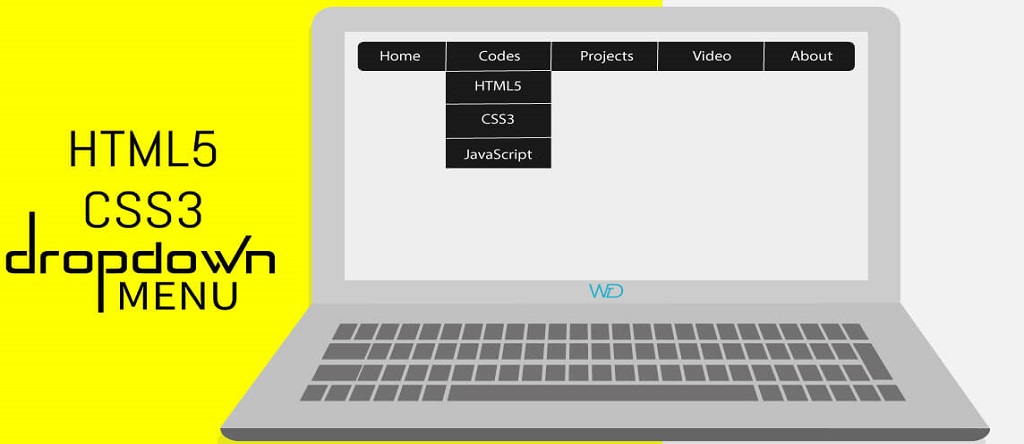
CSS3 Pure Drop Down Menu with Source Code
How to add drop down menu to Blogger?
You can easily add this beautiful drop down menu to any blogger template, just follow below steps to do so:
- Login to your blogger account
- Go to Template >> HTML >> Proceed
- Find this piece of Code ]]></b:skin>
- Just above/before that code paste below CSS code
#mymenu {
margin:0;
width:auto;
}
#mymenu ul {
margin:0;
padding:0;
line-height:30px;
}#mymenu li {
margin:0;
padding:0;
list-style:none;
float:left;
position:relative;
background:#F512E2;
}#mymenu ul li a {
text-align:center;
height:30px;
width:150px;
display:block;
color:#000;
font-family:”Comic Sans MS”, cursive;
text-decoration:none;
color:#FFF;
border:1px solid #FFF;
text-shadow:1px 1px 1px #000;
}#mymenu ul ul {
position:absolute;
visibility:hidden;
top:32px;
}#mymenu ul li:hover ul {
visibility:visible;
z-index:9999;
}
/*Menu hover color can be changed*/#mymenu li:hover {
background:#F98A1B;
}/*the color & Background Color of Links within menu*/
#mymenu ul li:hover ul li a:hover {
color:#000;
background:#13B20D;
}/* You can change the color for main menu*/
#mymenu a:hover {
color:#000;
}.clearFloat {
clear:both;
margin:0;
padding:0;
}#mymenu ul li {
display: inline;
}
Save your template and you’ve added the CSS3 part of the drop down menu to your blog.
Now add an HTML/JavaScript widget from your blog’s Layout section and paste below code inside that widget:
<div id=”mymenu”>
<ul>
<li> <a href=”#”>Web Designing</a>
<ul>
<li><a href=”#”>HTML</a></li>
<li><a href=”#”>CSS</a></li>
<li><a href=”#”>JavaScript</a></li>
<li><a href=”#”>Dreamweaver</a></li>
<li><a href=”#”>Blogger</a></li>
<li><a href=”#”>WordPress</a></li>
</ul>
</li>
</ul>
<br class=”clearFloat” />
</div>
Save the widget and keep it in the head section of the Layout page, so that it can be displayed on the top. See your blog to view the beautiful menu.
CSS Customization for this menu
You can do some customization in above CSS as you want, to change the color of a link simply replace any of your choice color name/code with first this code. To change the background of any link replace second this color code with yours. To change the background color of a:hover simply replace the third this code with your own color.
HTML Customization for this menu
You can change the anchor text with your own text and the link sign “#” with your own link address. Also, this is a single drop-down menu. If you want to make more menus then simply copy the code from <ul> to </ul> and paste it as far as you want. But you should paste the code within the <div> tag and before <br class=”clearFloat”>.
This menu can also be added to any website you want, you can just insert all the code at once wherever you want this menu to appear, copy below code and insert it anywhere you want in your website:
<style type=”text/css”>
#mymenu {
margin:0;
width:auto;
}
#mymenu ul {
margin:0;
padding:0;
line-height:30px;
}#mymenu li {
margin:0;
padding:0;
list-style:none;
float:left;
position:relative;
background:#F512E2;
}#mymenu ul li a {
text-align:center;
height:30px;
width:150px;
display:block;
color:#000;
font-family:”Comic Sans MS”, cursive;
text-decoration:none;
color:#FFF;
border:1px solid #FFF;
text-shadow:1px 1px 1px #000;
}#mymenu ul ul {
position:absolute;
visibility:hidden;
top:32px;
}#mymenu ul li:hover ul {
visibility:visible;
z-index:9999;
}
/*Menu hover color can be changed*/#mymenu li:hover {
background:#F98A1B;
}/*the color & Background Color of Links within menu*/
#mymenu ul li:hover ul li a:hover {
color:#000;
background:#13B20D;
}/* You can change the color for main menu*/
#mymenu a:hover {
color:#000;
}.clearFloat {
clear:both;
margin:0;
padding:0;
}#mymenu ul li {
display: inline;
}
</style>
<div id=”mymenu”>
<ul>
<li> <a href=”#”>Web Designing</a>
<ul>
<li><a href=”#”>HTML</a></li>
<li><a href=”#”>CSS</a></li>
<li><a href=”#”>JavaScript</a></li>
<li><a href=”#”>Dreamweaver</a></li>
<li><a href=”#”>Blogger</a></li>
<li><a href=”#”>WordPress</a></li>
</ul>
</li>
</ul>
<br class=”clearFloat” />
</div>
Just replace the “#” sign with your links and this is a single menu so you need to copy the entire <ul></ul> tag and paste again and again as far as you want, but insert it inside the <div id=”mymenu”></div> tag and before the <br class=”clearFloat” />.

Over to you:
We are continuously working to produce more web designing projects and freebies for you, however, let us know how was this menu and if you liked this then kindly share it with your friends, and do comment if you have questions.


